Shop By Vehicle
More Filters
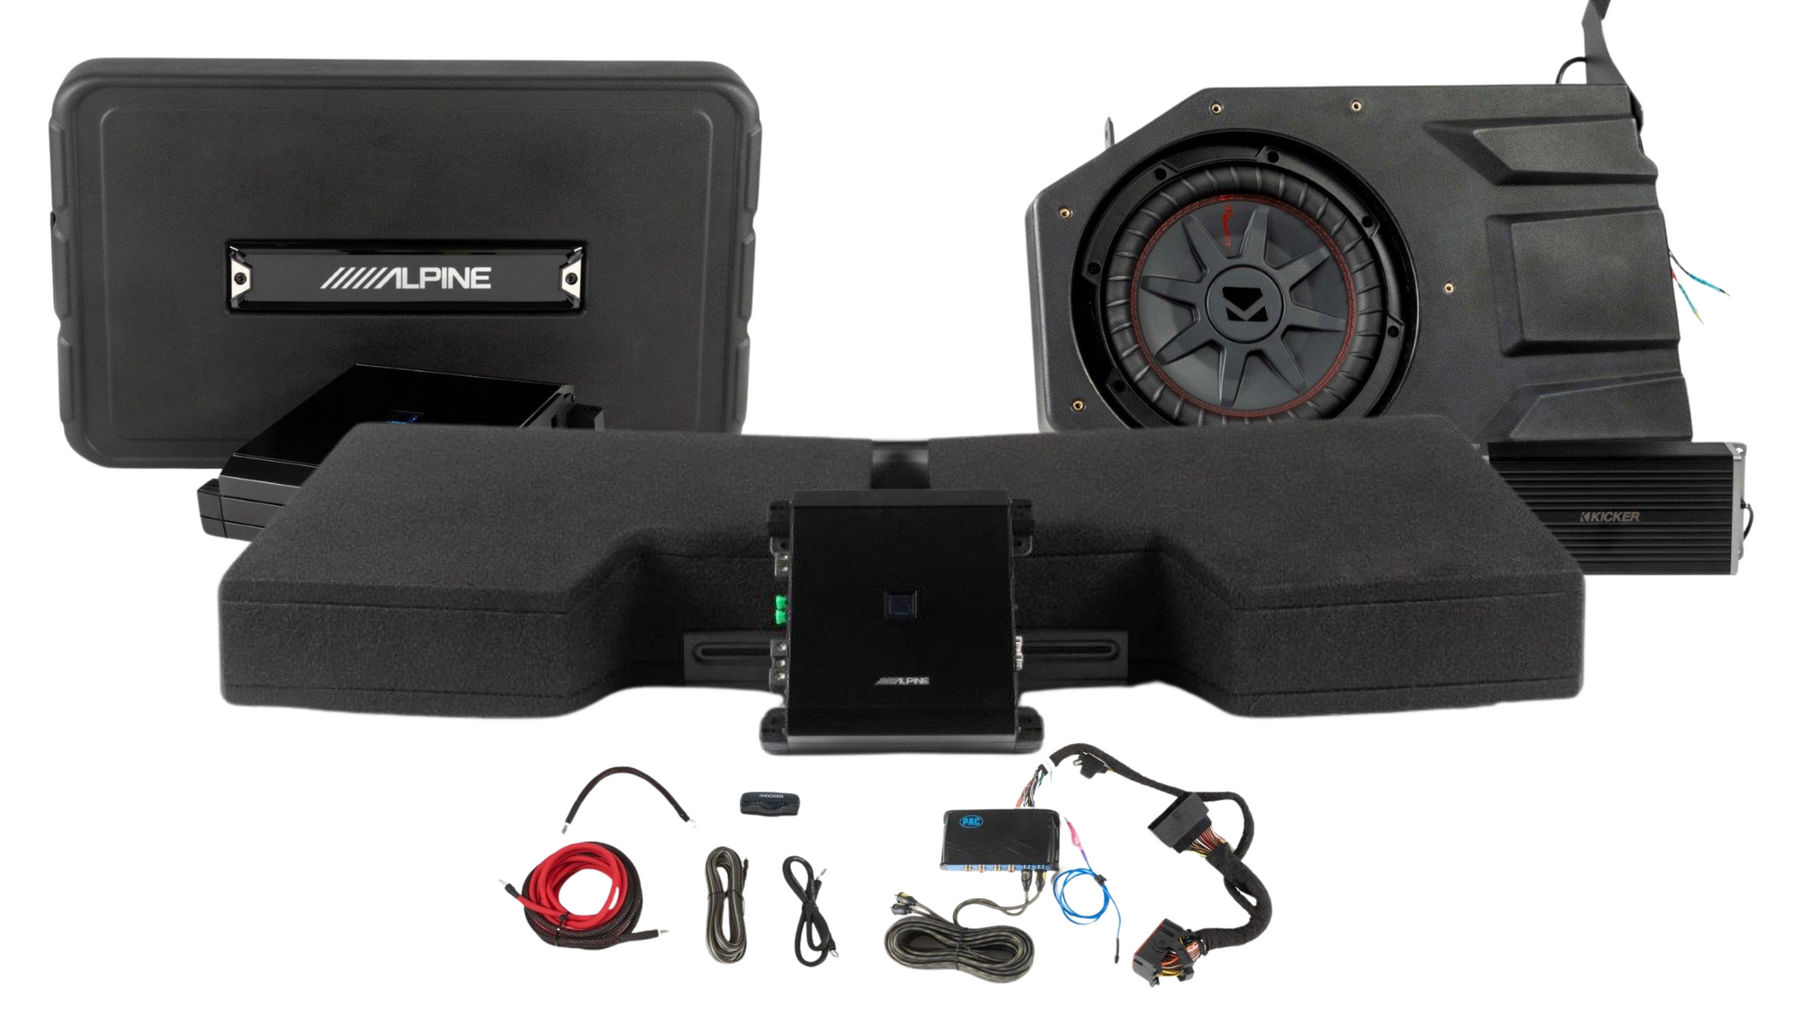
Sub & Mono Amp Bundle Installation Guide | '18-'23 JL/ '20-'23 JT

Mono Amplifier Installation Guide for ’18- ’23 Jeep JL Wrangler / ’20- ’23 Jeep JT Gladiator
This guide will walk you through the installation of a mono amplifier, similar to how it’s done for a 5-channel amplifier. The process, including the video at the bottom of the page, is essentially the same, with adjustments for a mono amp. The location of the amp installation, power routing, and cabling from the amp to the radio will remain similar. If you need assistance at any point during the installation, we're available Monday-Friday, 9am-5pm EST, ready to support you!
1) Remove Driver Seat:
To gain access to the space under the seat, remove the driver seat using an 18mm socket for the four seat bolts and a T45 screw for other parts.
2) Route Power and Ground:
Refer to the video for power and ground routing, which is identical for the Gladiator.
3) Remove Radio:
If you're connecting to a factory radio, follow the PAC module installation instructions in step 2. For aftermarket radios, expose the RCA connections or connect the RCA harness to the radio.
- Note: If you have an aftermarket radio and your Jeep is non-factory amplified, your 9-wire harness won’t have pre-terminated plug-and-play connectors. Connect the blue amplifier-on wire (using the pink bullet connector) to the radio’s amp-on wire.
- Important: Disconnect the speaker wire connector from the head unit to avoid sending the amplifier signal back into the head unit.
Remove the start button, climate control trim, and radio bezel. Unscrew the screws holding the radio and remove it.
4) PAC Module (if connecting via factory radio):
The PAC module will connect to the radio via the included T-harness.
- For non-factory amplified systems (no factory subwoofer), you will receive an LC2iPro instead of a PAC module that will install the exact same as the PAC AP4CH41..
Install the PAC module behind the glove box; its wires are long enough to reach the radio. Follow the video for PAC installation if your Jeep is factory amplified. Connect the 9-wire harness to the PAC module, using the black and pink connectors.
5) Routing and Installation of the Mono Amplifier:
For a mono amplifier installation, follow the general wiring instructions as detailed below, but focus only on the subwoofer output.
- Installation Location: Under the driver seat.
- Set the amplifier sideways, ensuring the RCA ports and adjustment controls face the door.
- If necessary, unbolt all four bolts to tilt the seat backward for easier installation.
- Remove the trim panel under the steering wheel for wire management.
Wiring Connections:
- Ground: Connect the ground wire from the amplifier to the bolt under the driver seat.
- Remote (AMP On): Connect the blue wire to the amplifier’s REM (AMP ON) port.
- Power: Route the power wire from the amplifier through the firewall (behind the driver footwell). You may need to drill a hole through the plastic cap to route the wire.
6) RCA and Speaker Wiring for Mono Amplifier:
Mono amplifiers are designed to power subwoofers only, so you'll connect the subwoofer wiring (typically yellow for positive, black for negative) to the appropriate amplifier terminals.
- RCA Connection: Use a single RCA cable (mono) to connect the amplifier's RCA input to the corresponding output at the radio or PAC module.
- Speaker Connection: Connect the subwoofer wiring to the amplifier’s subwoofer terminals, ensuring that the yellow wire is connected to the positive and black wire to the negative terminal.
7) Subwoofer Installation:
For a mono amplifier, you will connect only one subwoofer. If you're installing a subwoofer:
- Route the yellow and black wires from the amplifier to the subwoofer.
- Mount the subwoofer either under the rear bench (remove the storage bin if equipped) or in a custom location that suits your needs.
8) Testing the System:
Before reinstalling all the trim pieces and the seat:
- Connect the radio temporarily and install the necessary trim pieces to power on the Jeep.
- Test the subwoofer and ensure it is working properly.
- Adjust the amplifier settings (gain, crossover, etc.) based on the subwoofer’s response.
Amplifier Settings for Optimal Sound:
- Gain Levels: Start with gain set to 0 and radio volume at 0. Gradually increase the volume to 75% max and adjust the gain until slight distortion is heard, then back off the gain slightly.
- Crossover Frequency: Set the crossover for the subwoofer at around 9 o’clock.
- Bass Boost: Set between 9 and 12 o’clock for optimal bass response.
- Fader: Set to "On."
- Input Level: Low (pushed out).
- Sub Input: Sub (pushed in).
9) Final Installation:
After testing, reinstall the trim pieces, radio, and seat, securing everything in place. Enjoy your new sound system!
Installation Video:
Please refer to the video below for a visual walkthrough of the installation process.


