Shop By Vehicle
More Filters
More Filters
Backup Camera Install | '07-'18 JK

February 27, 2023
Mike Traxler
Please follow these installation tips when you're ready to install your new Backup Camera in your 2007-2018 Jeep JK.
These tips are intended to be used in conjunction with our full installation video below:
UPDATE:
- We have pre-wired your camera to utilize power from the radio wire harness vs. the rear taillight as shown in the video. You can either tap into the power from the rear tail light as shown, OR use the provided power connections on the RCA and radio harness. The suggested method is to connect the attached bullet connectors.
- If using the attached connections, you will NOT connect the power wire to the taillight, nor will you ground the wire at the taillight. You will only connect the attached bullet connectors to each other.
- ***Picture shown below for reference***
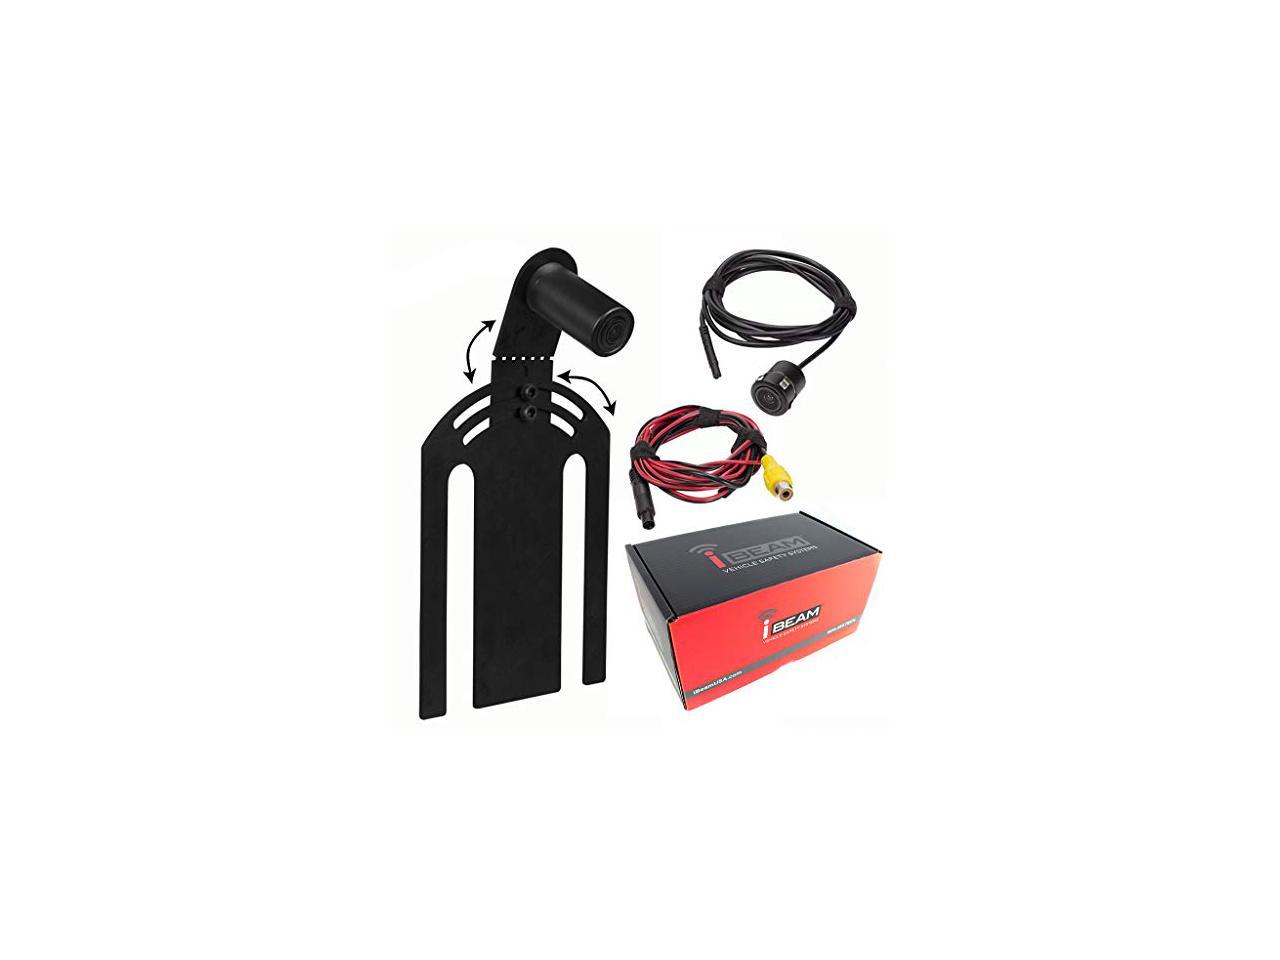
1. Camera bracket-
- Remove tire.
- Place bracket on lugs and position camera according to wheel.
- Pro Tip- Do not set the camera into the holder. As a final step once the screen is powered, you will need to position the camera angle.
2. Install wire-
- It’s easiest to remove the rubber grommet to push the wire through the tail gate (refer to video).
- You will bypass the power connections at the taillight as suggested above and fish the wire to the front of the Jeep (refer to video).
3. Connect RCA/ power to head unit-
- As shown in the video, you will fish the wire behind the glove box to reach behind the stereo.
- UPDATE - You will terminate the yellow male RCA from the back up camera into the yellow female RCA connected to the head unit.
- UPDATE - You will terminate the red bullet connector which is on the at the end of the red power wire which is attached to the back up camera RCA to the red bullet connector which is attached the head unit wire harness.
- UPDATE - The connections will provide both power and ground to the back up camera.
- Pic below for reference-

3. Power radio and align camera-
- Set the head unit into the dash as shown in the head unit installation video and instructions.
- Align camera into position and seat firmly into the housing (refer to video).


